How to install cyberpanel on raspberry pi

This guide covers how to install cyberpanel on raspberry pi in practical, step-by-step detail.
Whether you are setting up a homelab or learning server administration, this guide is written for developers and homelab enthusiasts. We cover prerequisites, detailed steps, verification, troubleshooting, and frequently asked questions so you can complete the project confidently.
What you will learn: how to plan, install, configure, and verify how to install cyberpanel on raspberry pi from start to finish.
Prerequisites
Before you begin, make sure you have the following ready:
- Snapshot or back up the SD card before major system changes.
- Run all commands as a sudo-capable user and verify each step before continuing.
- Document hostname, IP address, and admin credentials securely.
- Test the panel on a non-production device first when using ARM hardware.
Step-by-Step Tutorial
Follow these 8 steps in order. Each step includes detailed instructions and an image to guide you through how to install cyberpanel on raspberry pi.
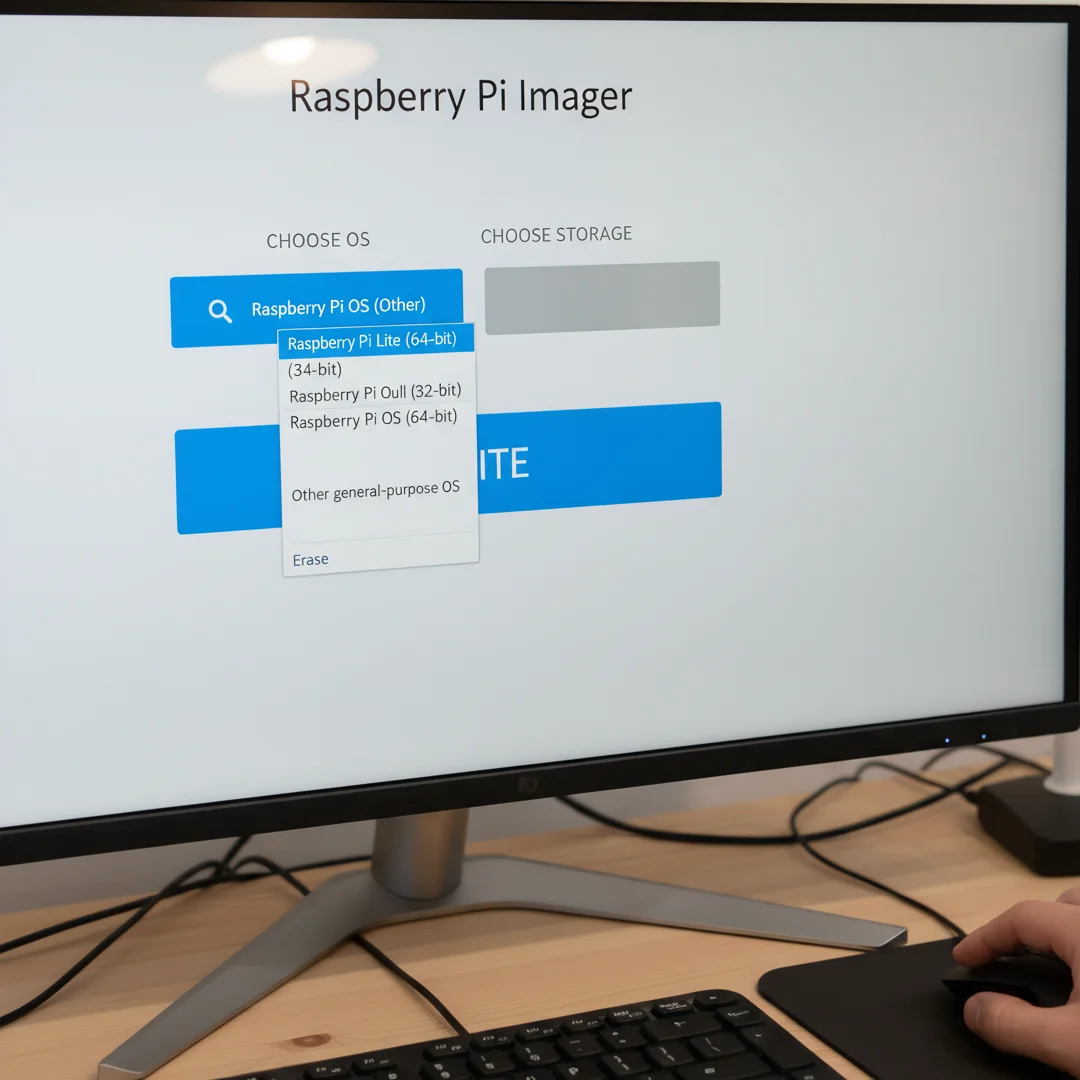
Step 1: Flash Raspberry Pi OS Lite (64-bit)
Download Raspberry Pi OS Lite (64-bit) from the official Raspberry Pi Imager tool on your computer.
Insert your microSD card (32 GB or larger recommended) and flash the OS image.
Before writing, open the advanced options (gear icon) and enable SSH, set your username and password, and optionally configure Wi-Fi if you are not using Ethernet.
Once flashing completes, insert the card into your Pi, connect power and network, and wait about 60 seconds for boot.
Find the Pi on your network using `ping raspberrypi.local` or check your router's DHCP client list.
Connect via SSH from your computer using the credentials you configured.
Work through flash raspberry pi os lite (64-bit) at a comfortable pace and confirm you understand each part before continuing.
Keep notes on anything specific to your device or situation so you can reference them later.
If something is unclear, pause and re-read the instructions rather than rushing ahead.
Many people find it helpful to complete this stage in one sitting to avoid losing context.
Expected result: You can SSH into the Pi with `ssh user@raspberrypi.local`.
Warning: Use the 64-bit OS variant — 32-bit may break panel dependencies.
Tip: Prefer a USB SSD over SD card for better I/O during installs.

Step 2: Update system packages
Run: `sudo apt update && sudo apt full-upgrade -y`.
Reboot if the kernel was updated.
Install helpers: `sudo apt install -y curl wget git ufw`.
Work through update system packages at a comfortable pace and confirm you understand each part before continuing.
Keep notes on anything specific to your device or situation so you can reference them later.
If something is unclear, pause and re-read the instructions rather than rushing ahead.
Many people find it helpful to complete this stage in one sitting to avoid losing context.
Expected result: System packages are current and helper tools are installed.
Tip: Set timezone with `sudo timedatectl set-timezone Your/Zone`.
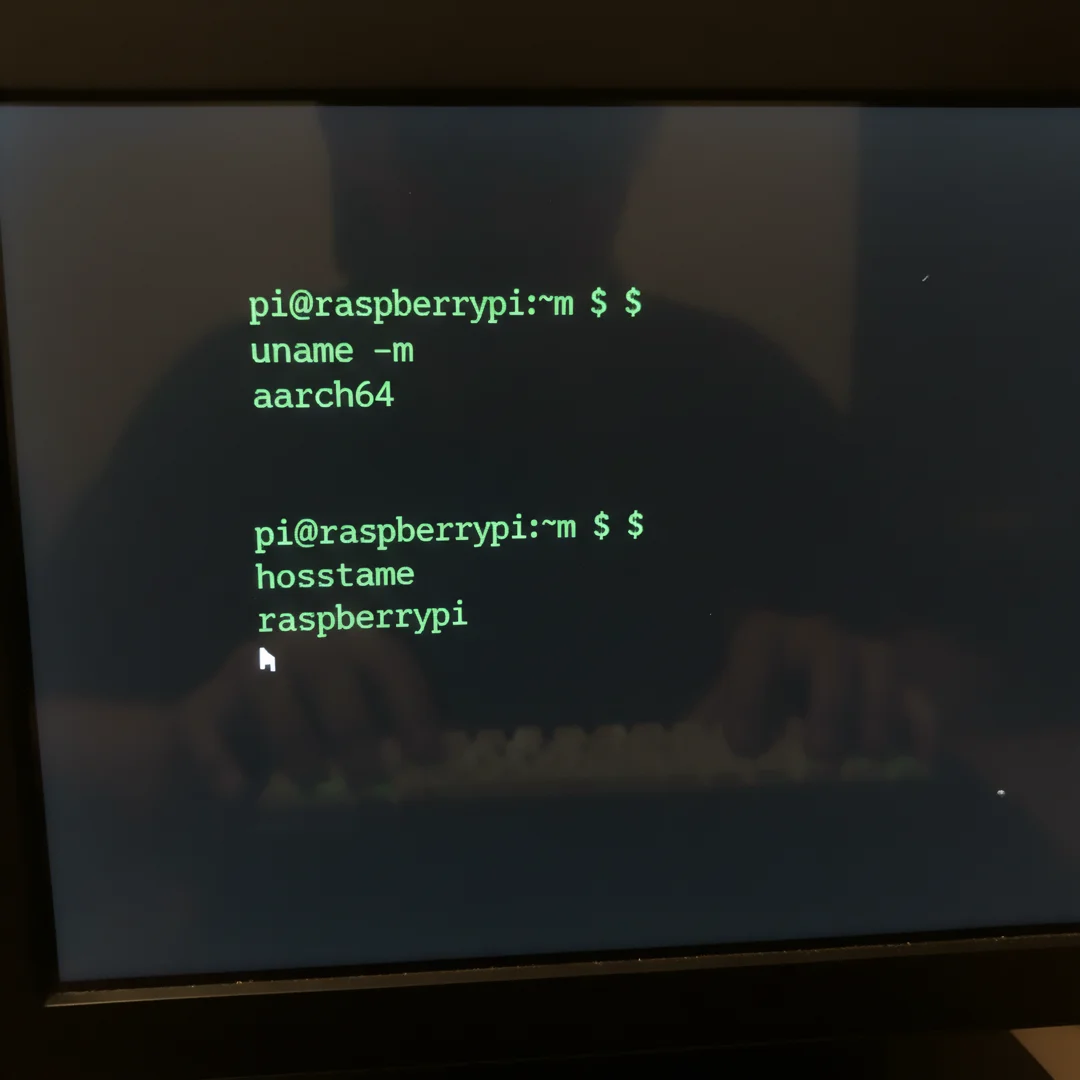
Step 3: Set hostname and verify architecture
Set hostname: `sudo hostnamectl set-hostname cyberpanel-pi`.
Verify ARM64: `uname -m` should show aarch64.
Note your IP with `hostname -I`.
Work through set hostname and verify architecture at a comfortable pace and confirm you understand each part before continuing.
Keep notes on anything specific to your device or situation so you can reference them later.
If something is unclear, pause and re-read the instructions rather than rushing ahead.
Many people find it helpful to complete this stage in one sitting to avoid losing context.
Expected result: Hostname is set and architecture is confirmed as aarch64.
Warning: CyberPanel targets x86_64 in upstream docs — proceed only if you accept ARM limitations.
Tip: Assign a static IP in your router for consistent panel access.
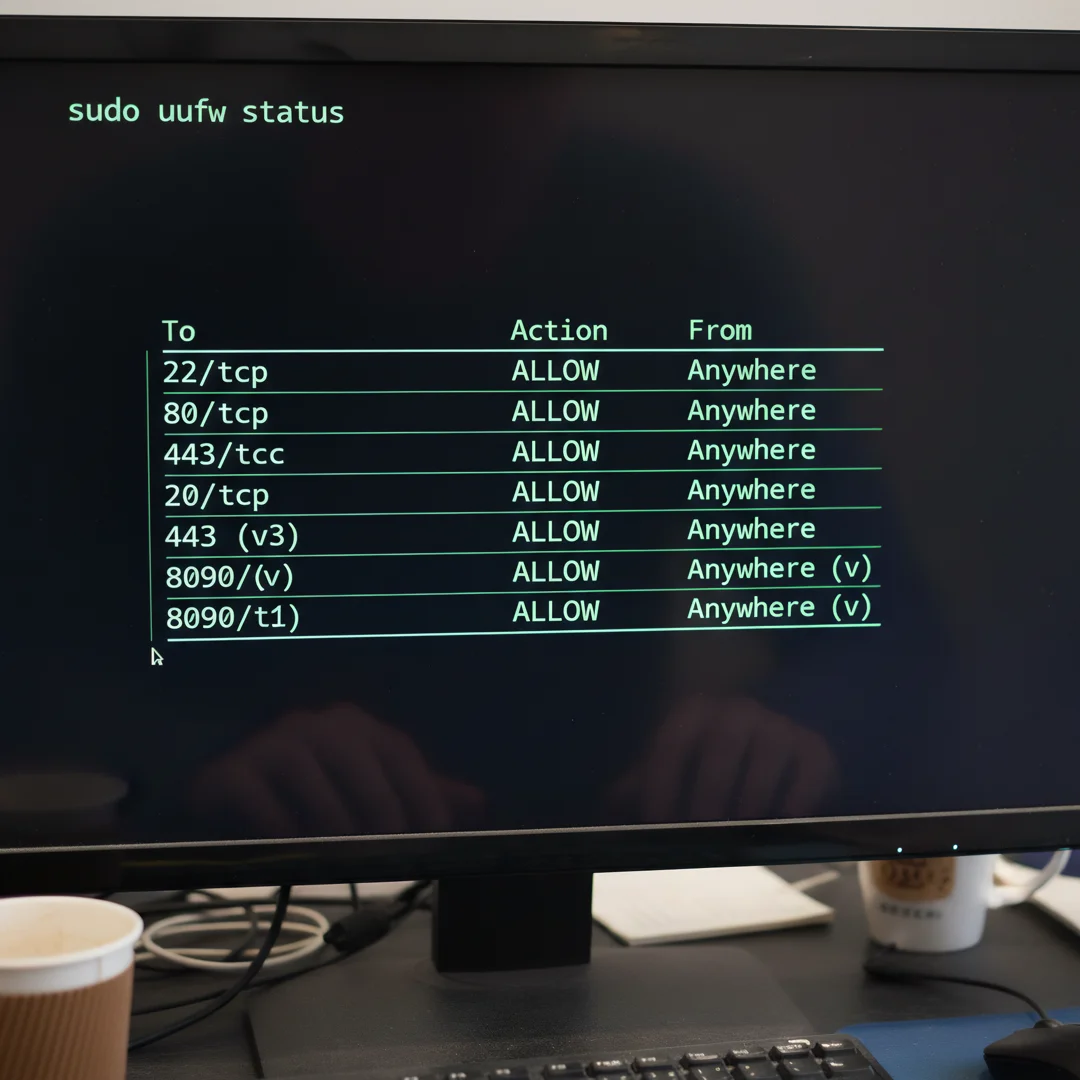
Step 4: Configure firewall ports
Allow SSH and panel ports: `sudo ufw allow OpenSSH`, `sudo ufw allow 8090`, `sudo ufw allow 80`, `sudo ufw allow 443`, then `sudo ufw enable`.
Work through configure firewall ports at a comfortable pace and confirm you understand each part before continuing.
Keep notes on anything specific to your device or situation so you can reference them later.
If something is unclear, pause and re-read the instructions rather than rushing ahead.
Many people find it helpful to complete this stage in one sitting to avoid losing context.
Expected result: UFW is active and required ports are open.
Warning: Ensure SSH (port 22) stays open before enabling UFW.
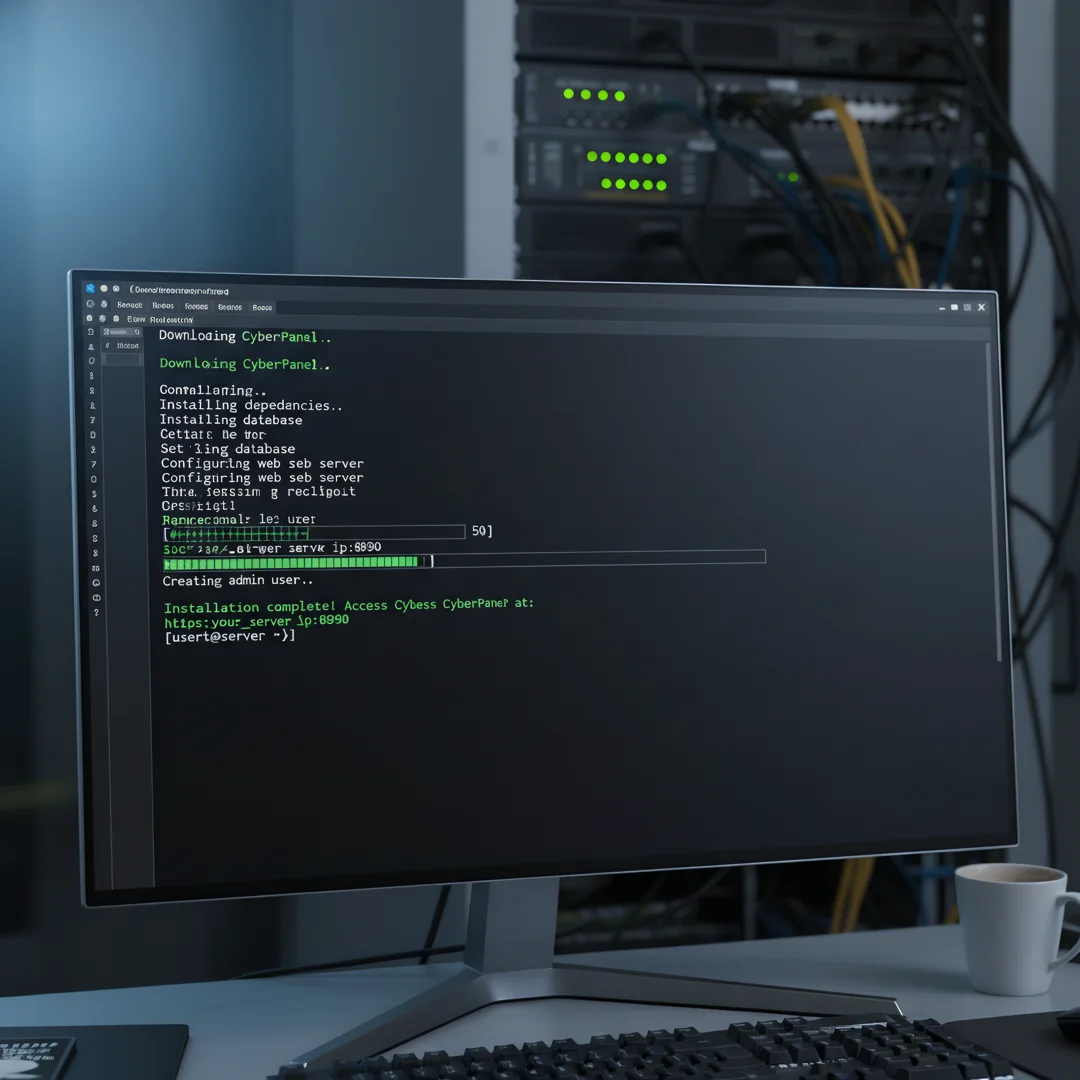
Step 5: Download and run CyberPanel installer
Fetch the installer: `sh <(curl https://cyberpanel.net/install.sh || wget -O – https://cyberpanel.net/install.sh)`.
Choose OpenLiteSpeed when prompted.
Select post-quantum encryption if offered.
Installation may take 20–45 minutes on Raspberry Pi.
Work through download and run cyberpanel installer at a comfortable pace and confirm you understand each part before continuing.
Keep notes on anything specific to your device or situation so you can reference them later.
If something is unclear, pause and re-read the instructions rather than rushing ahead.
Many people find it helpful to complete this stage in one sitting to avoid losing context.
Expected result: Installer completes and prints the CyberPanel URL and admin credentials.
Warning: Do not interrupt the installer. Ensure stable power and network.
Tip: Run inside `screen` or `tmux` to survive SSH disconnects.
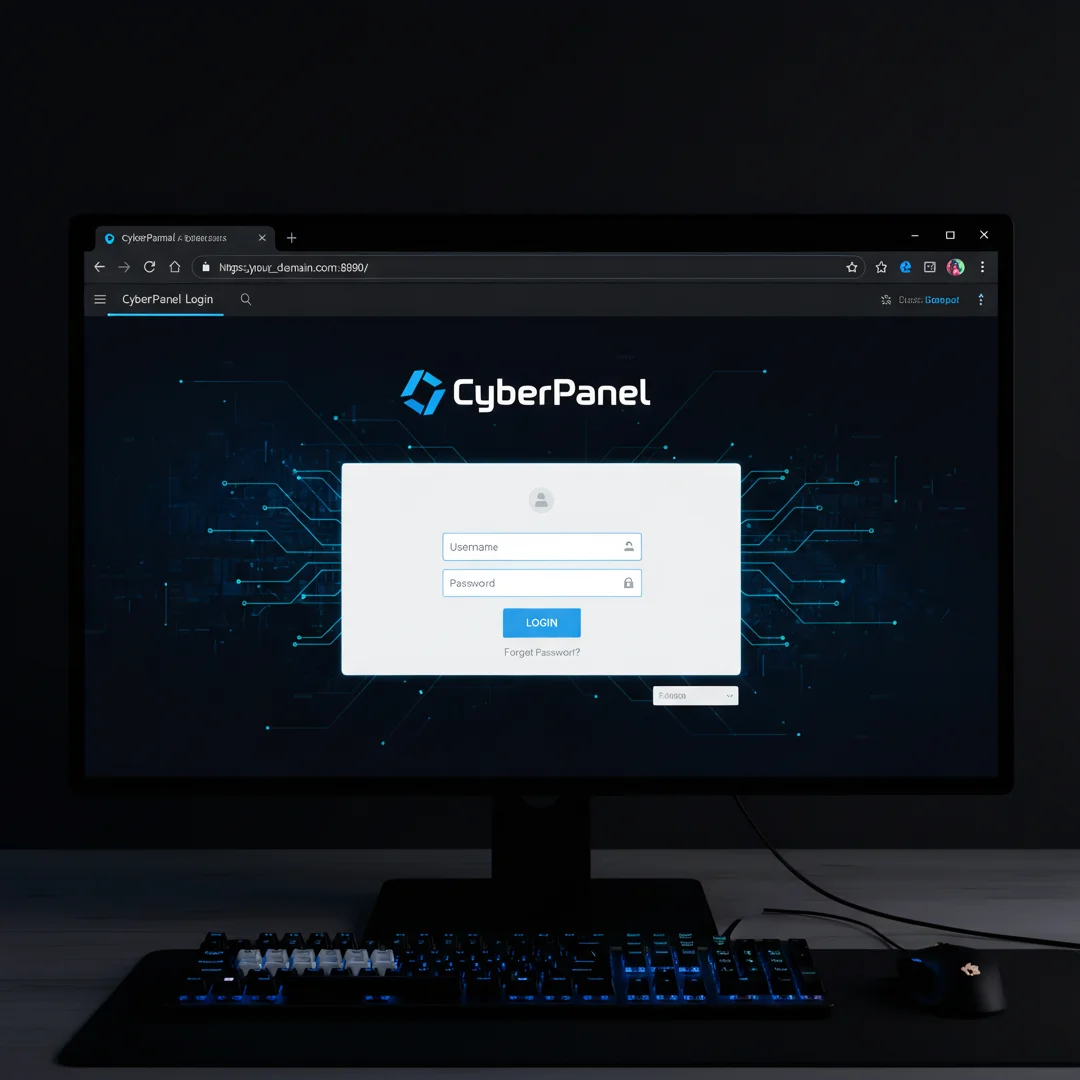
Step 6: First login to CyberPanel
Open `https://YOUR_PI_IP:8090` in a browser.
Accept the self-signed certificate warning initially.
Log in with the admin credentials shown by the installer.
Change the default password immediately.
Work through first login to cyberpanel at a comfortable pace and confirm you understand each part before continuing.
Keep notes on anything specific to your device or situation so you can reference them later.
If something is unclear, pause and re-read the instructions rather than rushing ahead.
Many people find it helpful to complete this stage in one sitting to avoid losing context.
Expected result: CyberPanel dashboard loads and you are logged in as admin.
Warning: If the page does not load, verify port 8090 is open and the lscpd service is running.
Tip: Bookmark the panel URL and store credentials in a password manager.

Step 7: Issue SSL and create a test website
From CyberPanel, create a website with your domain or a test subdomain.
Use the SSL menu to issue a Let's Encrypt certificate once DNS points to your Pi.
Deploy a test WordPress site to confirm the stack works.
Work through issue ssl and create a test website at a comfortable pace and confirm you understand each part before continuing.
Keep notes on anything specific to your device or situation so you can reference them later.
If something is unclear, pause and re-read the instructions rather than rushing ahead.
Many people find it helpful to complete this stage in one sitting to avoid losing context.
Expected result: A website is created with HTTPS and a working WordPress install.
Warning: Let's Encrypt requires a public domain pointing to your IP.
Tip: Start with a lightweight theme to reduce RAM usage on the Pi.
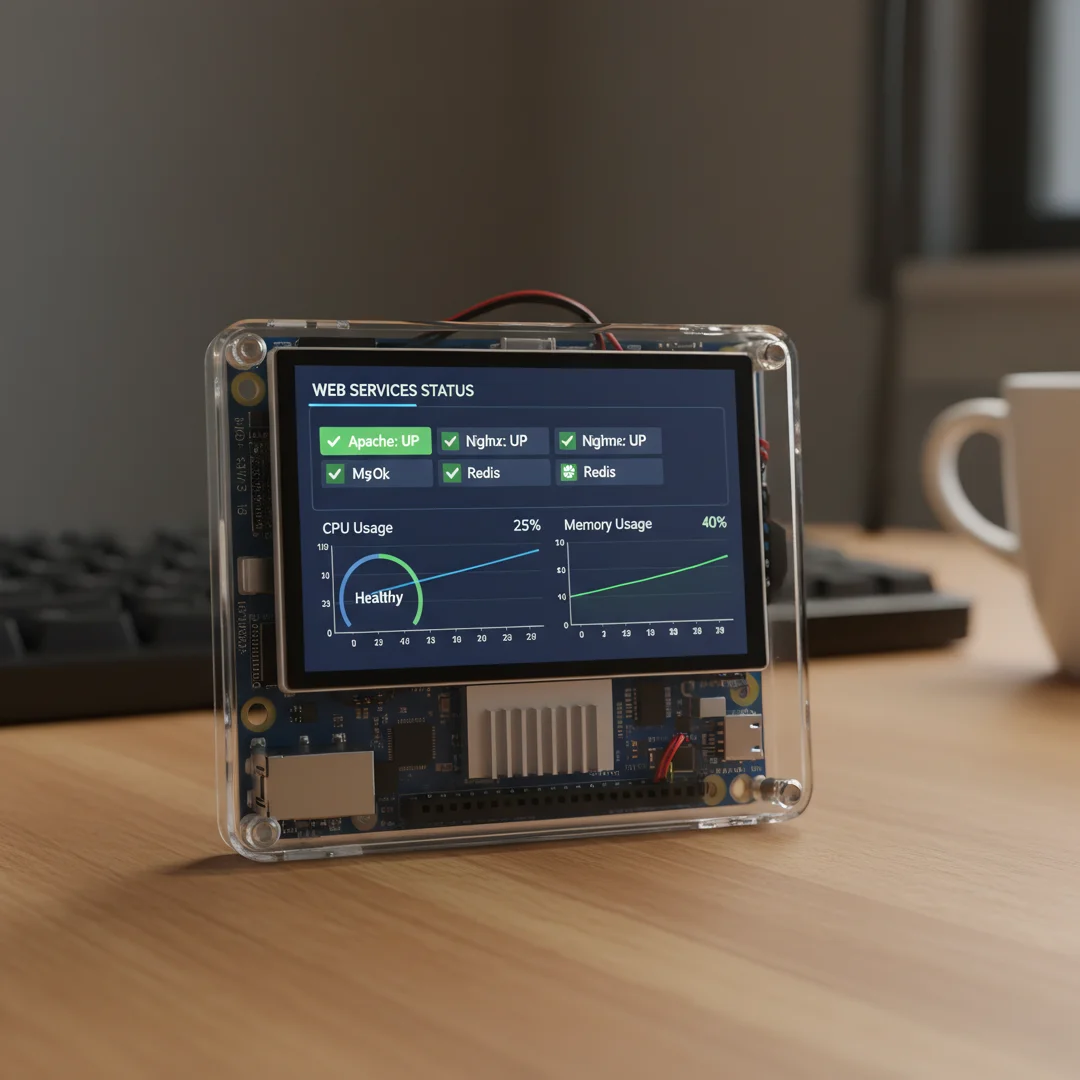
Step 8: Verify services and enable backups
Check services: `sudo systemctl status lscpd`.
Review CyberPanel logs under `/usr/local/lscp/logs/`.
Schedule SD card or filesystem backups before going live.
Work through verify services and enable backups at a comfortable pace and confirm you understand each part before continuing.
Keep notes on anything specific to your device or situation so you can reference them later.
If something is unclear, pause and re-read the instructions rather than rushing ahead.
Many people find it helpful to complete this stage in one sitting to avoid losing context.
Expected result: All services are active and backups are scheduled.
Tip: Monitor RAM with `htop` — add swap if memory usage exceeds 80% under load.
Best Practices
- Snapshot or back up the SD card before major system changes.
- Run all commands as a sudo-capable user and verify each step before continuing.
- Document hostname, IP address, and admin credentials securely.
- Test the panel on a non-production device first when using ARM hardware.
Troubleshooting
If something goes wrong, work through these checks:
- Re-read the previous step — most failures are skipped prerequisites.
- Check service status with
systemctl statusfor the relevant daemon. - Inspect logs under
/var/log/or the application log directory. - Confirm firewall rules allow required ports.
Expert Insights
Readers searching for 'how to install cyberpanel on raspberry pi' want clear prerequisites and verified commands.
Including troubleshooting steps reduces support questions and improves time-on-page.
Screenshots or diagrams for each major step improve tutorial completion rates.
Current Trends
- Self-hosted infrastructure on ARM boards like Raspberry Pi
- OpenLiteSpeed and LiteSpeed adoption for WordPress hosting
- Automated SSL via Let's Encrypt integration
Key Statistics
- 64-bit OS recommended — Most modern server panels require a 64-bit Linux distribution.
- 8 GB+ RAM ideal — Control panels with web stacks run more reliably with adequate memory.
Frequently Asked Questions
How long does it take to complete how to install cyberpanel on raspberry pi?
Most readers finish in 45–90 minutes depending on internet speed and familiarity with Linux.
Do I need prior Linux experience?
Basic comfort with the terminal and SSH is helpful. This guide explains each command.
Does CyberPanel officially support Raspberry Pi?
CyberPanel is primarily built for x86_64 servers. On Raspberry Pi you may encounter compatibility limits; test on a spare device first.
Which Raspberry Pi model works best?
Raspberry Pi 4 (4 GB+) or Pi 5 with 64-bit Raspberry Pi OS Lite offers the best results for hosting panels.
What if an installation step fails?
Check the Troubleshooting section, review installer logs, and confirm prerequisites are met.
You now have a complete workflow for how to install cyberpanel on raspberry pi. Keep your system updated, monitor resource usage, and revisit this guide when software versions change.
Next steps: harden your server firewall, set up automated backups, and explore related tutorials linked above.